")
Exploring the WordPress Dashboard: A Beginner’s Guide for Professionals
Congratulations — you’ve successfully installed WordPress! Now comes the fun part: learning to navigate your WordPress Dashboard, the control center where you’ll manage every aspect of your website.
Whether you’re a dentist publishing patient information, a lawyer adding new case updates, or a consultant creating blog posts, the dashboard is where it all begins.
In this guide, we’ll take a simple, step-by-step walk through your WordPress admin panel so you can confidently edit, publish, and grow your website — without needing to call a developer every time.
1. What Is the WordPress Dashboard?
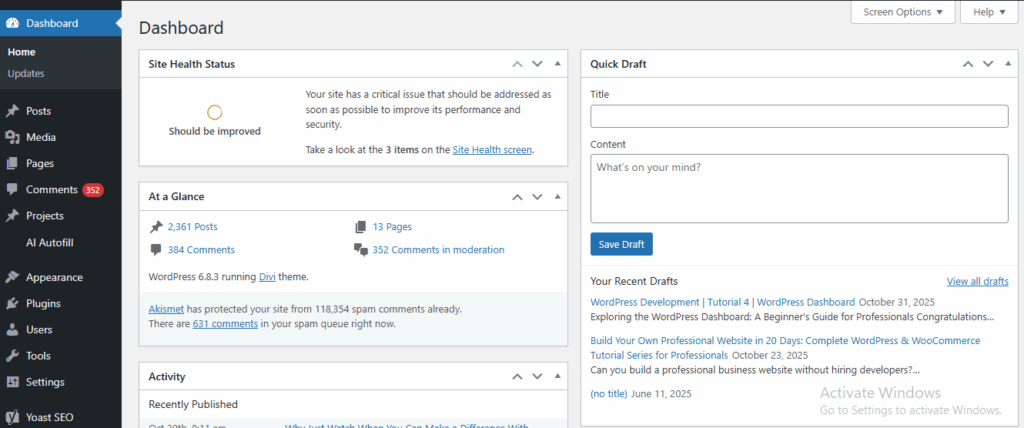
When you log in to your WordPress site at yourdomain.com/wp-admin, you’ll land on the Dashboard — a secure back-office interface where you control your website’s content, design, and functionality.
It’s divided into two main sections:
- Left Sidebar Menu: Your command center for posts, pages, themes, plugins, and settings.
- Main Content Area: Displays whatever section you’re currently working on.
Think of it like your office desk — the left side is your filing cabinet (everything neatly categorized), while the main screen is your workspace.
2. Understanding the Dashboard Layout
Here’s a quick overview of what you’ll see:
- Dashboard Home: Displays quick stats, recent updates, and shortcuts.
- Updates: Notifies you when WordPress, themes, or plugins need updating.
- Posts: For blog articles and news updates.
- Pages: For static content like About Us, Services, or Contact.
- Media: Stores your images, videos, and PDFs.
- Comments: For managing visitor feedback.
- Appearance: Where you select and customize your theme.
- Plugins: To add extra features like SEO, contact forms, or backups.
- Users: To manage team logins if multiple people update your site.
- Tools & Settings: For backups, import/export, and global preferences.
💡 Tip: You can collapse or rearrange dashboard widgets to simplify your workspace — perfect if you like a clean view.
3. Creating Your First Page

For professionals, the Pages section is where your business story begins.
- Go to Pages → Add New.
- Enter a title, e.g., About Our Practice or Services We Offer.
- Use the Gutenberg Block Editor to add text, images, buttons, or quotes.
- Click Publish once ready.
Your new page will appear instantly at yourdomain.com/services.
Essential Pages for Professionals
- Home Page – The overview of who you are.
- About Us – Build trust by sharing credentials and experience.
- Services – Clearly list what you offer.
- Testimonials – Showcase client or patient feedback.
- Contact – Include phone, email, map, and a form.
💡 Pro Tip: You can add professional photos or use free stock images from sites like Pexels or Unsplash.
4. Adding Blog Posts and Updates
If you plan to share industry insights or updates, WordPress’s Posts section is your go-to tool.
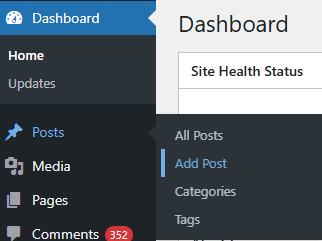
- Go to Posts → Add New.
- Enter your title, e.g., “5 Common Dental Myths Explained” or “Recent Changes in Export Compliance.”
- Add your content in the editor.
- Assign Categories (e.g., News, Tips, Insights).
- Click Publish.
This not only keeps your website fresh but also improves your Google SEO ranking.
💡 Example: A lawyer can post legal awareness articles. A clinic can share dental hygiene tips. These small efforts drive organic traffic and build credibility.
Related: How to Write SEO-Friendly Blog Posts | Content Marketing for Professional Services
5. Uploading Images and Media
Go to Media → Add New to upload photos, brochures, and videos.
Best Practices
- Optimize images to under 1 MB for faster loading.
- Use descriptive filenames like
dental-implants-madurai.jpginstead ofIMG_0023.jpg. - Always add Alt Text — this helps with SEO and accessibility.
- Use consistent dimensions (e.g., 1200×800 pixels for banners).
💡 Pro Tip: For professionals, adding high-quality photos of your clinic, team, or office space increases trust and engagement.
6. Changing Your Website Design
To give your site a professional look, you’ll use the Appearance section.
Steps to Customize Your Design
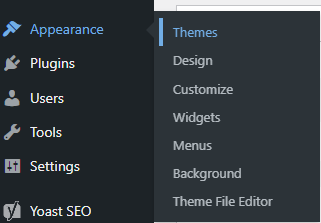
- Go to Appearance → Themes.
- Click Add New Theme and browse free designs.
- Popular choices: Astra, OceanWP, or Neve — they’re lightweight and business-friendly.
- Click Install → Activate.
- Go to Appearance → Customize to adjust colors, fonts, and logos.
💡 Pro Tip: If you use a page builder like Elementor, you’ll get even more design flexibility without coding.
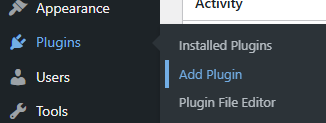
7. Enhancing Your Website with Plugins
Plugins are like apps for your website — they add functionality without coding.
Must-Have Plugins for Professionals
- Yoast SEO – Helps your site rank on Google.
- WPForms – Create contact or appointment forms easily.
- UpdraftPlus – Automatic backups for safety.
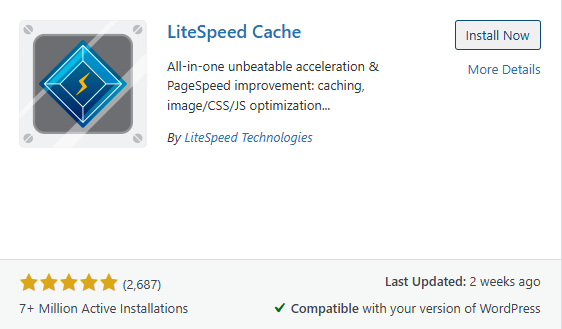
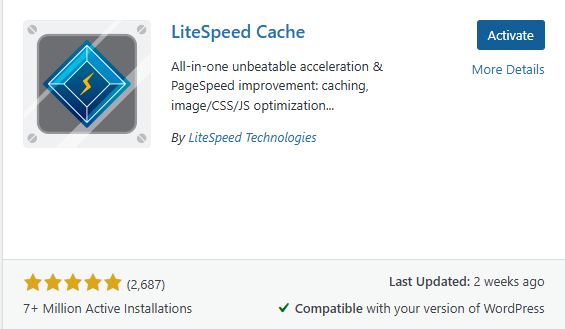
- LiteSpeed Cache – Improves page loading speed.
- Wordfence Security – Protects against hackers.
Install these from Plugins → Add New → Search → Install → Activate.
💡 Pro Tip: Only install necessary plugins. Too many can slow down your website.
8. Managing Comments and Clients’ Feedback
If you write blogs or articles, readers can leave comments.
Go to Comments in the sidebar to approve, reply, or delete them.
For professionals:
- Enable comments only where appropriate.
- Monitor regularly to prevent spam.
- Always respond politely — it builds credibility and engagement.
9. Managing Users (For Teams or Assistants)
If you have a team member or an assistant who helps update your site:
- Go to Users → Add New.
- Assign roles:
- Administrator: Full control.
- Editor: Can publish and edit content.
- Author: Can write but not edit others’ work.
- Contributor: Can submit drafts.
💡 Example: A dental clinic may allow a receptionist to manage appointment pages without access to financial details.
10. Key Settings to Review
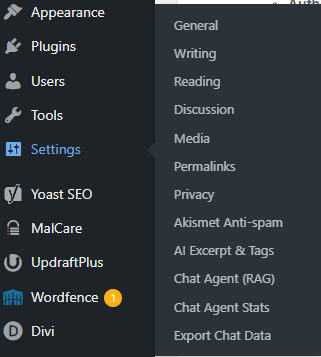
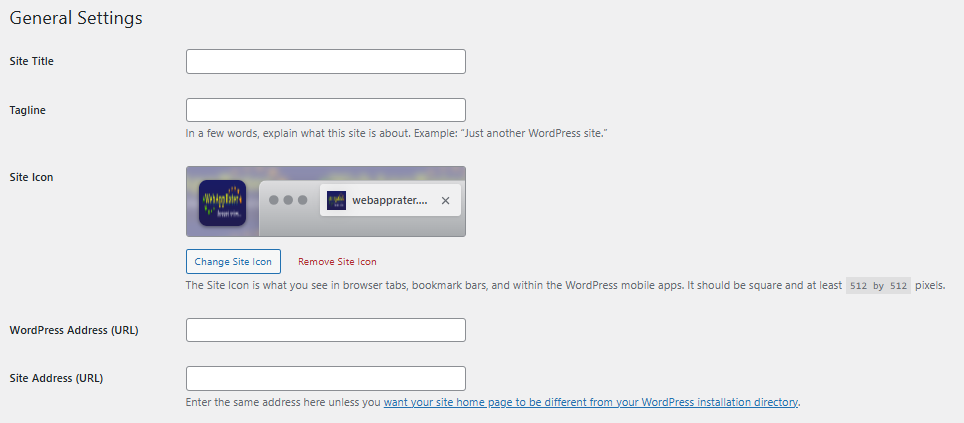
Go to Settings → General to fine-tune:
- Site Title & Tagline
- Time Zone (set to your local area)
- Site Language
- Email Notifications
Then visit Settings → Reading and set your Home Page to a static page (usually “Home”) instead of a blog feed.
Conclusion
The WordPress Dashboard might look overwhelming at first, but within a few sessions, it becomes second nature. It’s your personal publishing studio — designed for simplicity and control.
For professionals building their digital presence, learning your way around WordPress means freedom — the ability to add new services, post updates, or launch campaigns without depending on others.
In our next tutorial, we’ll explore Themes and Page Builders — where design meets creativity. You’ll learn how to make your website look truly professional and aligned with your brand.


")


0 Comments