Build Your First WooCommerce Discount Plugin
WooCommerce is the most widely used eCommerce platform in the WordPress ecosystem, powering millions of online stores. One of the biggest advantages of WooCommerce is its extensibility—you can modify almost anything through plugins, hooks, and custom logic. In this tutorial series, we will take a practical, hands-on approach to understand how WooCommerce works internally by building our own custom discount plugin from scratch.
Instead of studying theory, you will learn by doing—starting with a simple “Hello Checkout” plugin and gradually evolving it into a fully customizable discount rule engine.
What You Will Build
By the end of this series, you’ll have a working WooCommerce extension that can:
- Display a custom message on the checkout page
- Accept custom coupon codes
- Apply flat or percentage discounts
- Allow coupons only within minimum/maximum order value ranges
- Enable constraints like new customers only or existing customers only
- Manage multiple coupons via an admin interface
- Activate/deactivate individual coupon rules
- Limit how many times each customer can use a coupon
This tutorial isn’t about creating another coupon plugin. It’s about understanding how WooCommerce calculates totals, how checkout validation works, and how to design a structured admin UI for real-world requirements.
If you can complete this series, you will understand 80% of what goes into serious WooCommerce extensions.
Why Learn Plugin Development the Practical Way?
Most tutorials focus on either too-simple examples or overly abstract code.
This series is different.
Here, you will:
- Start with the smallest working plugin
- Add one feature at a time
- Understand each hook as you use it
- Explore real-world eCommerce logic
- Build confidence to create your own extensions
It’s a balance between realistic features and clean, approachable code.
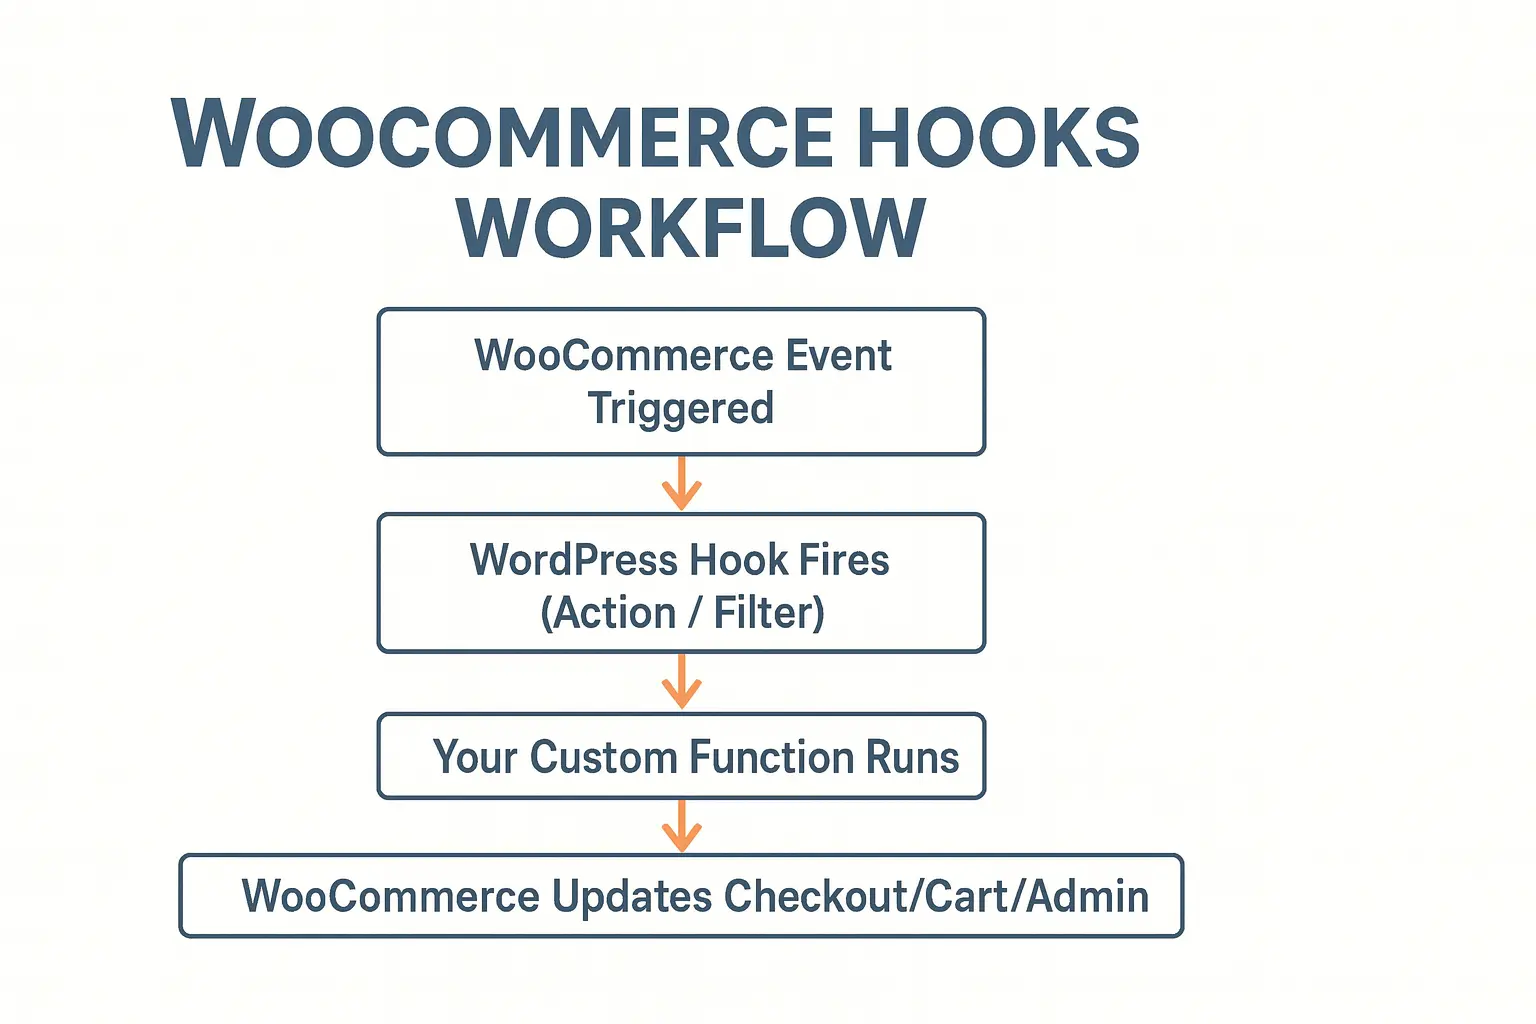
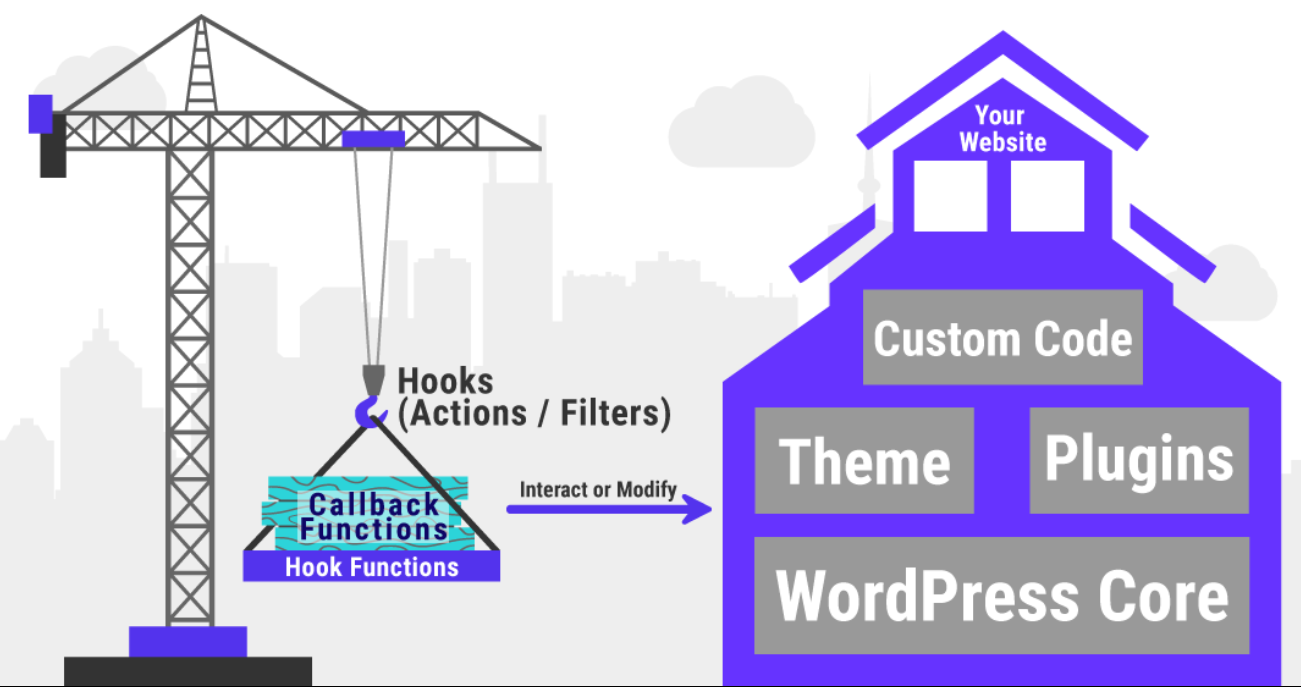
How WooCommerce Plugins Work (Quick Summary)
A WooCommerce plugin is simply a WordPress plugin that uses WooCommerce’s rich set of:
- Actions – to inject HTML, messages, or logic at specific points
- Filters – to alter pricing, cart totals, messages, validation
- Class APIs – like WC_Cart, WC_Order, etc.
In most cases, your plugin works by:
- Listening to events (hooks) triggered by WooCommerce
- Running your own logic
- Changing how checkout, cart, or admin pages behave
In this series, you’ll learn hooks like:
- woocommerce_before_checkout_form
- woocommerce_cart_calculate_fees
- woocommerce_checkout_process
- admin_menu
…plus WordPress techniques like:
- Creating admin pages
- Saving settings
- Reading POST data
- Using nonces
- Loading plugin files
You don’t need deep PHP knowledge—basic familiarity is enough.
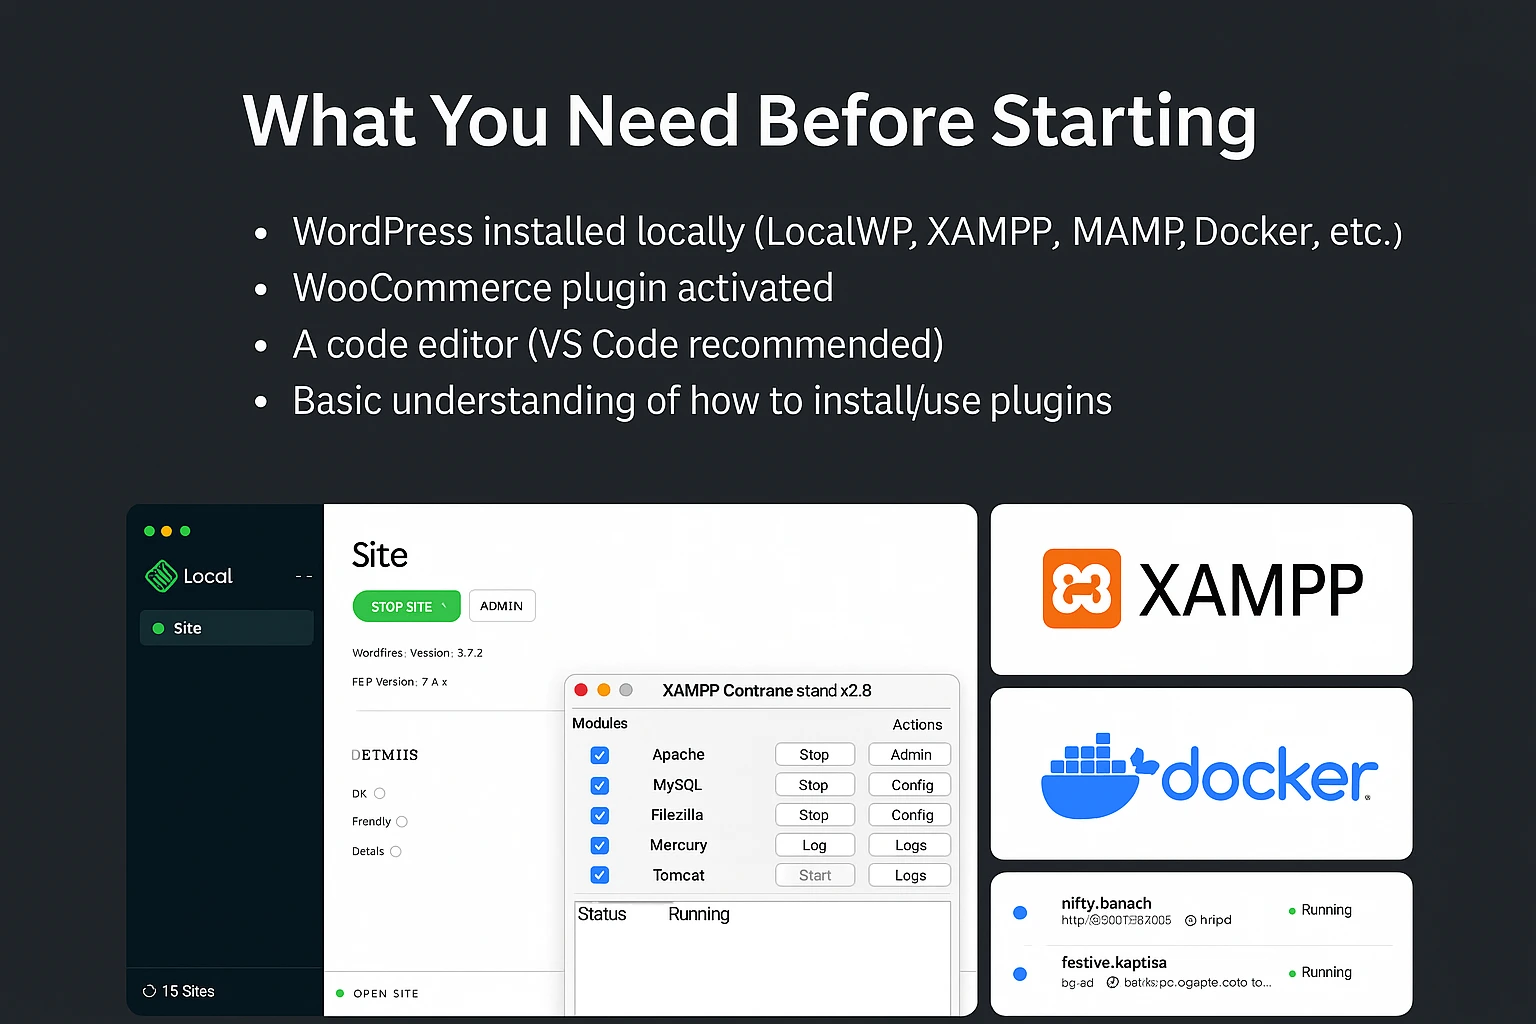
What You Need Before Starting
Make sure your development environment includes:
- WordPress installed locally (LocalWP, XAMPP, MAMP, Docker, etc.)
- WooCommerce plugin activated
- A code editor (VS Code recommended)
- Basic understanding of how to install/use plugins
Optional but recommended:
- A sample store with at least 1 product
- Logged-in user account for checkout
Debug mode enabled (helps during development)
-
How This Tutorial Is Structured
We will follow a step-by-step, incremental journey:
- Create plugin skeleton + Hello Checkout
- Add admin menu + customizable message
- Convert message into a discount input
- Add discount types (flat/percentage)
- Add order value constraints
- Add customer-type rules
- Build “Coupon Manager” admin UI
- Add usage-limit logic
- Polish & prepare plugin for publishing
Each chapter includes:
- Explanation
- Clean code snippets
- Testing instructions
- Common mistakes and troubleshooting tips
End Goal
Once finished, you will have:
✔ A complete WooCommerce plugin
✔ Production-ready discount logic
✔ A deeper understanding of WooCommerce internals
✔ Confidence to build your own extensions
✔ A plugin you can package, polish, and publish